Sales/Technical Consulting
+49 9187 9522-541
+49 9187 9522-50
gunther.brandenstein@frenco.de
Contact as vCard
Head Design
+49 9187 9522-518
+49 9187 9522-40
andreas.pommer@frenco.de
Contact as vCard
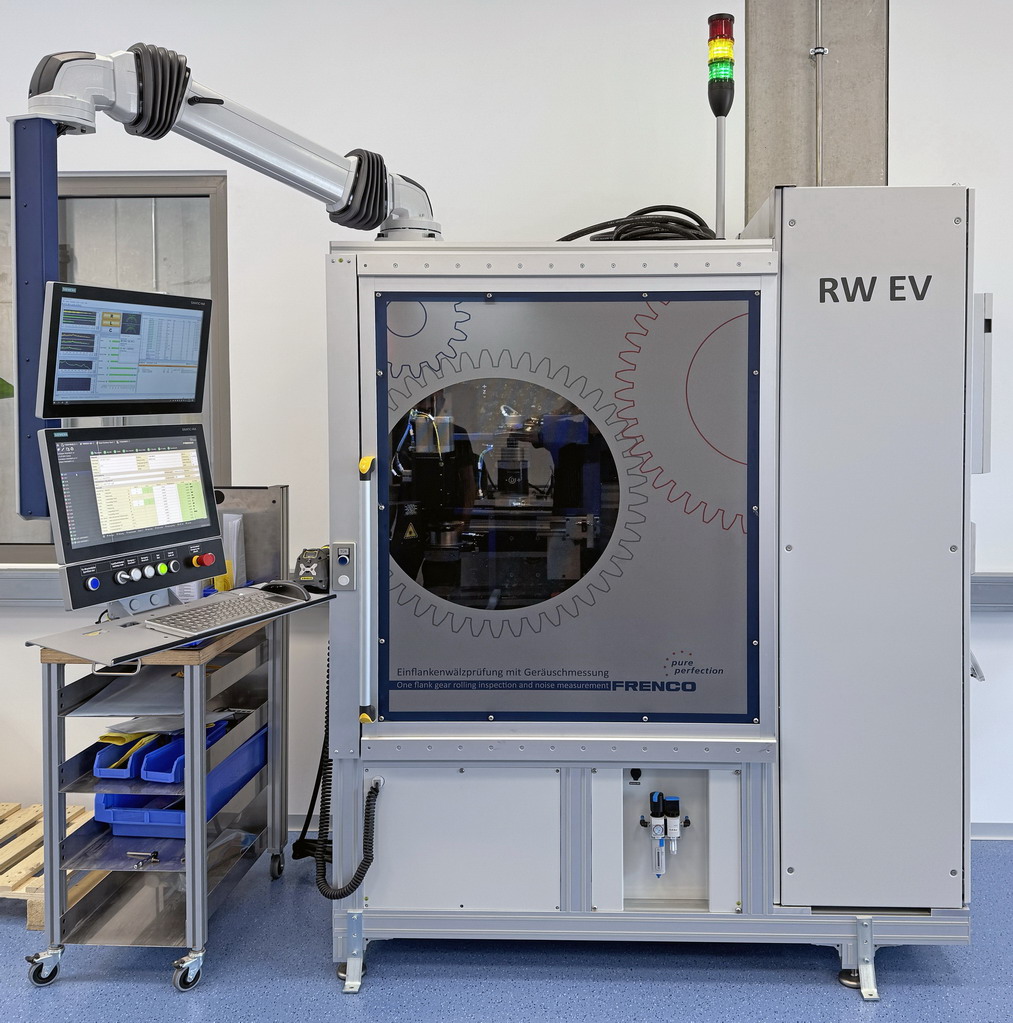
Single Flank Test Machines
Single Flank Test is a fast inspection method for gears
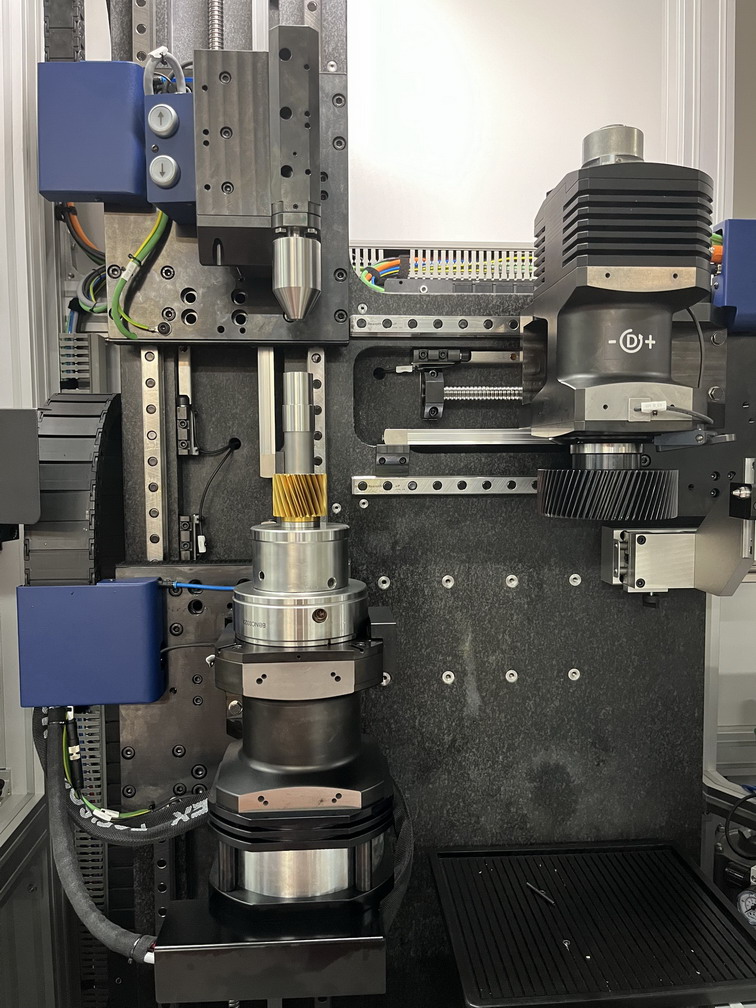
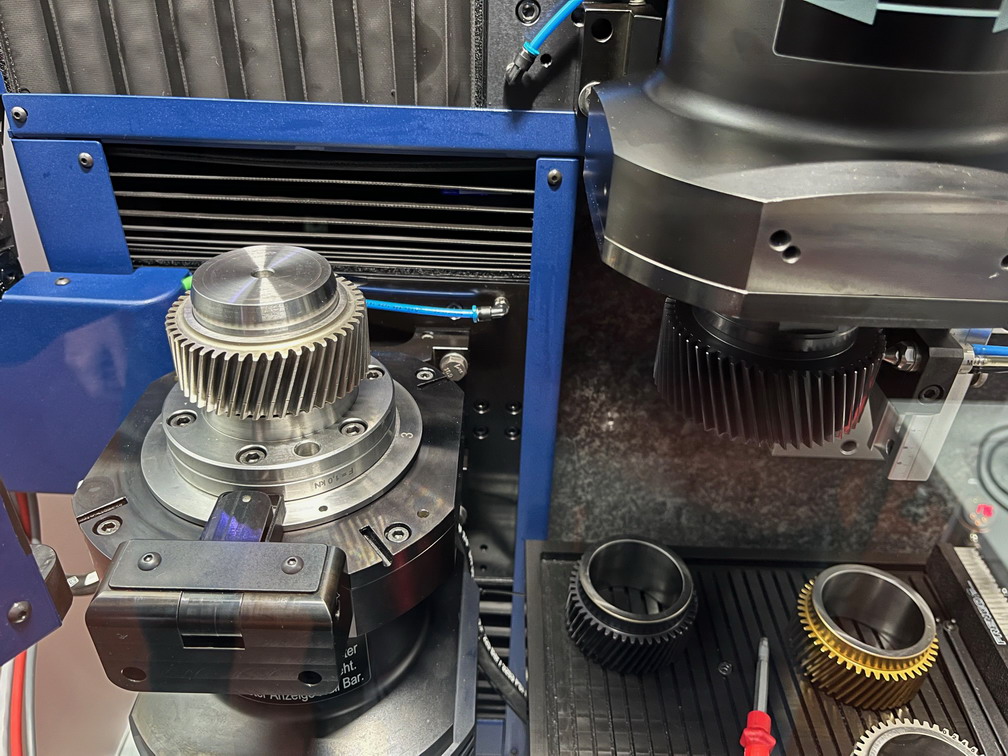
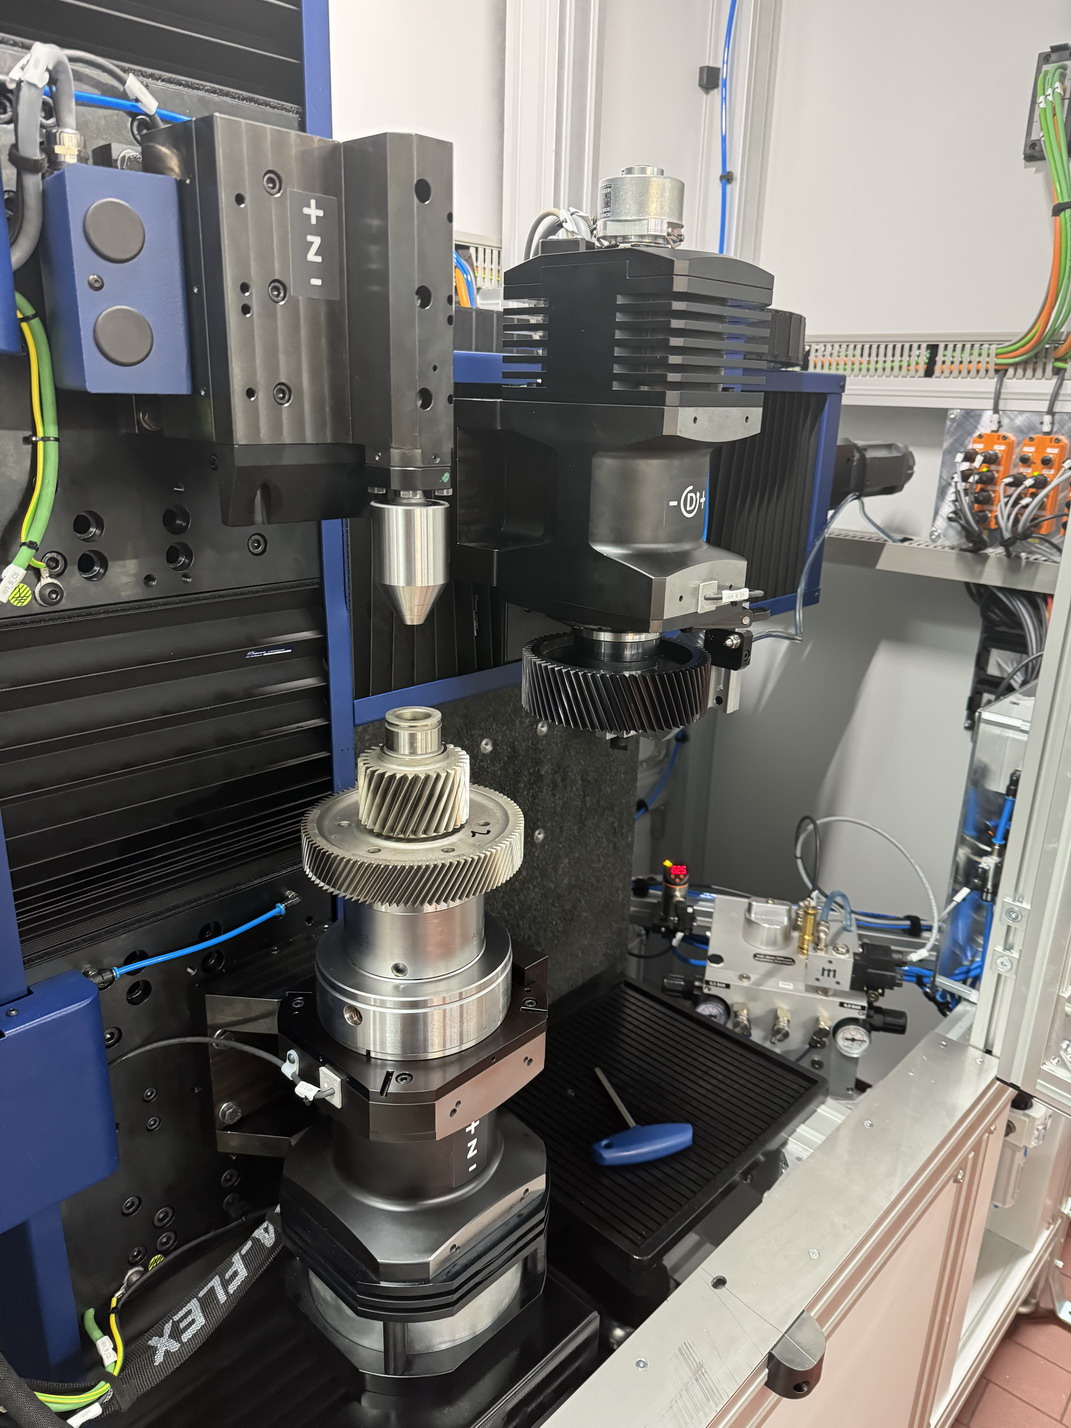
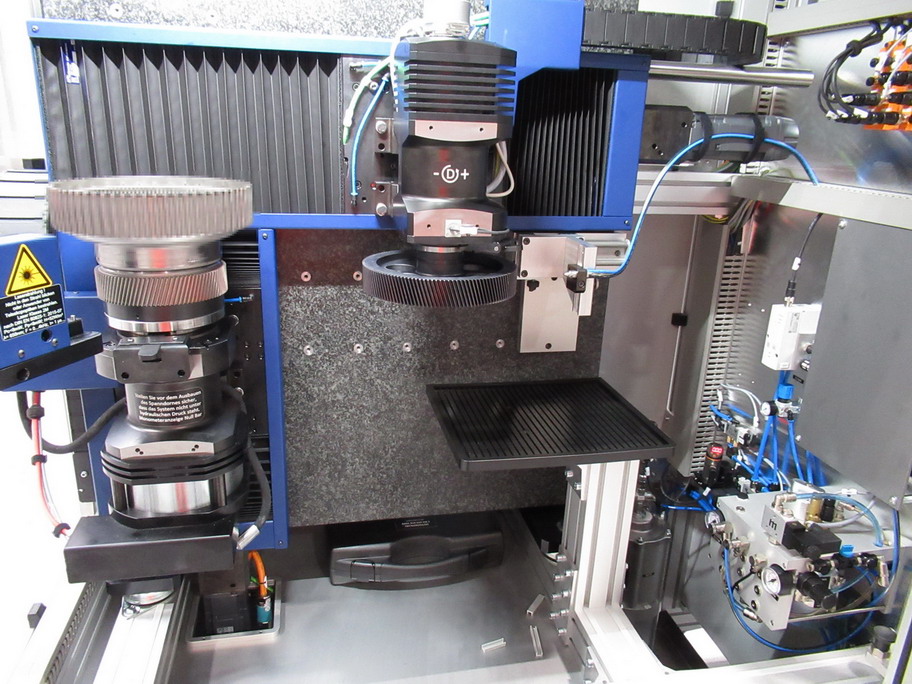
The root principle of Single Flank Testing is meshing a Master Gear (a near perfect gear) and a workpiece with a fixed axial distance. By using a braked axle only one flank (left or right, thrust or trailing) is meshing.
Both axes are fitted with a rotary encoder, allowing to compare the actual-/desired angle. In contrast to Double Flank Gear Test an independent evaluation of both flanks is possible. Depending on workpiece geometry FRENCO is offering different variants of Machines
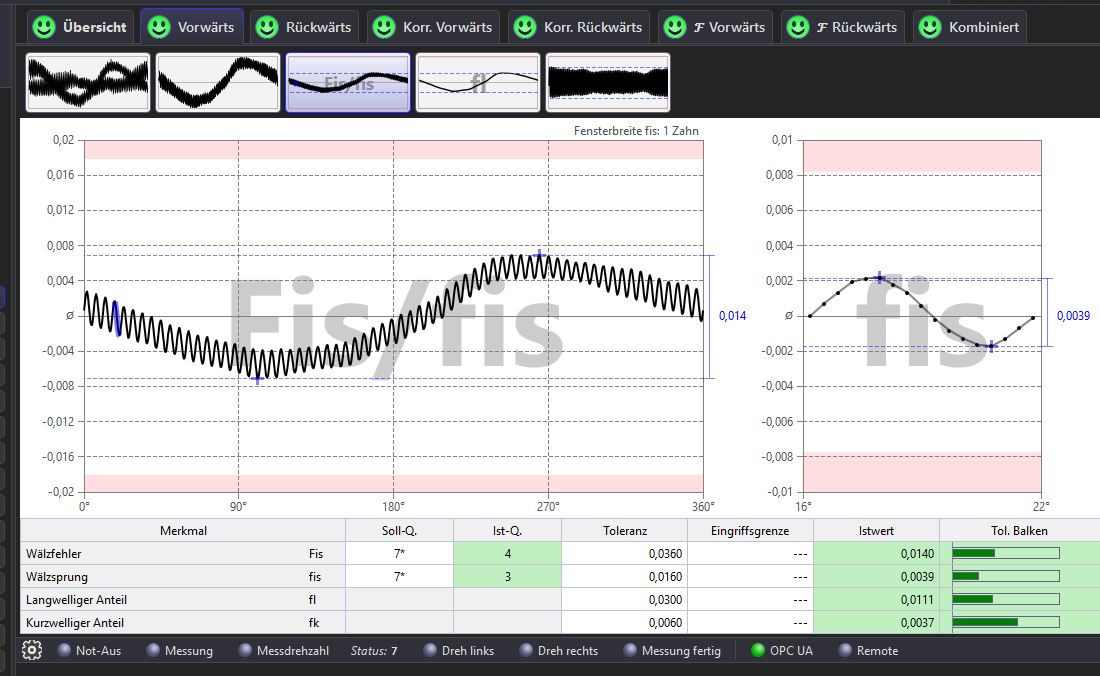
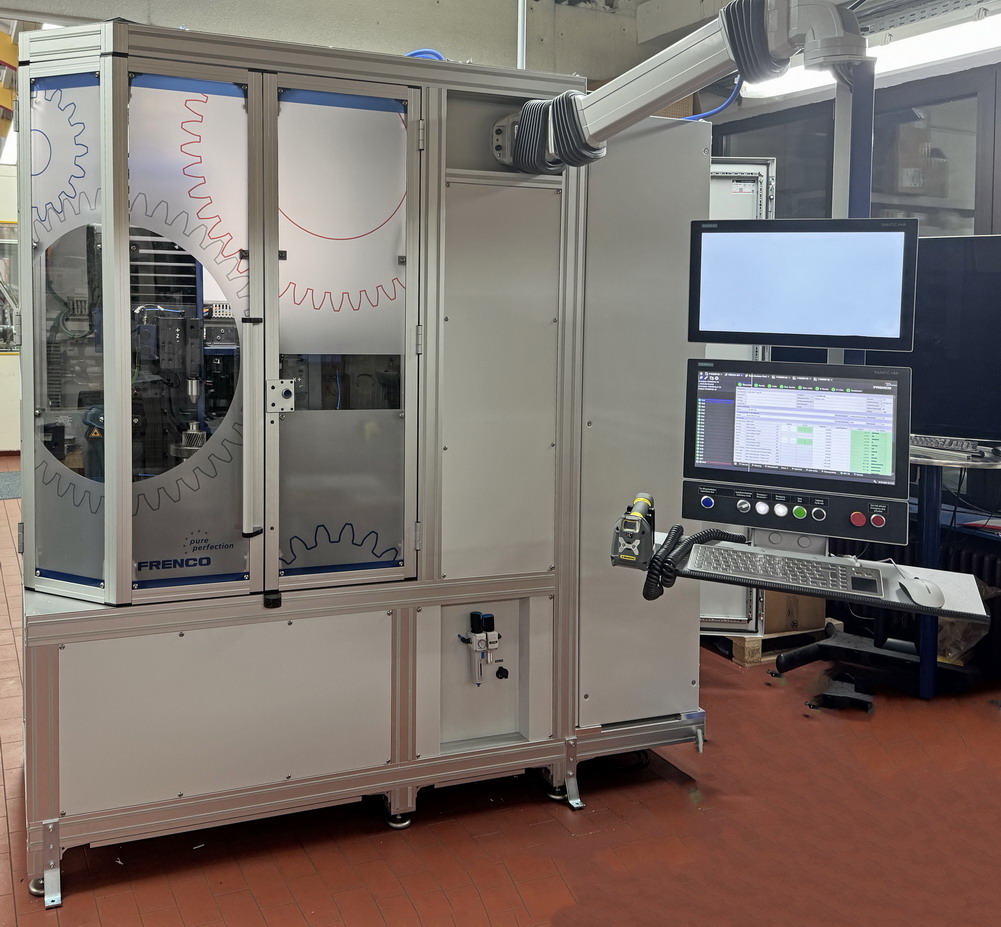
All Machines are equipped with FRENCO Measurement Electronics. Evaluation is done with our FRENCO Software.
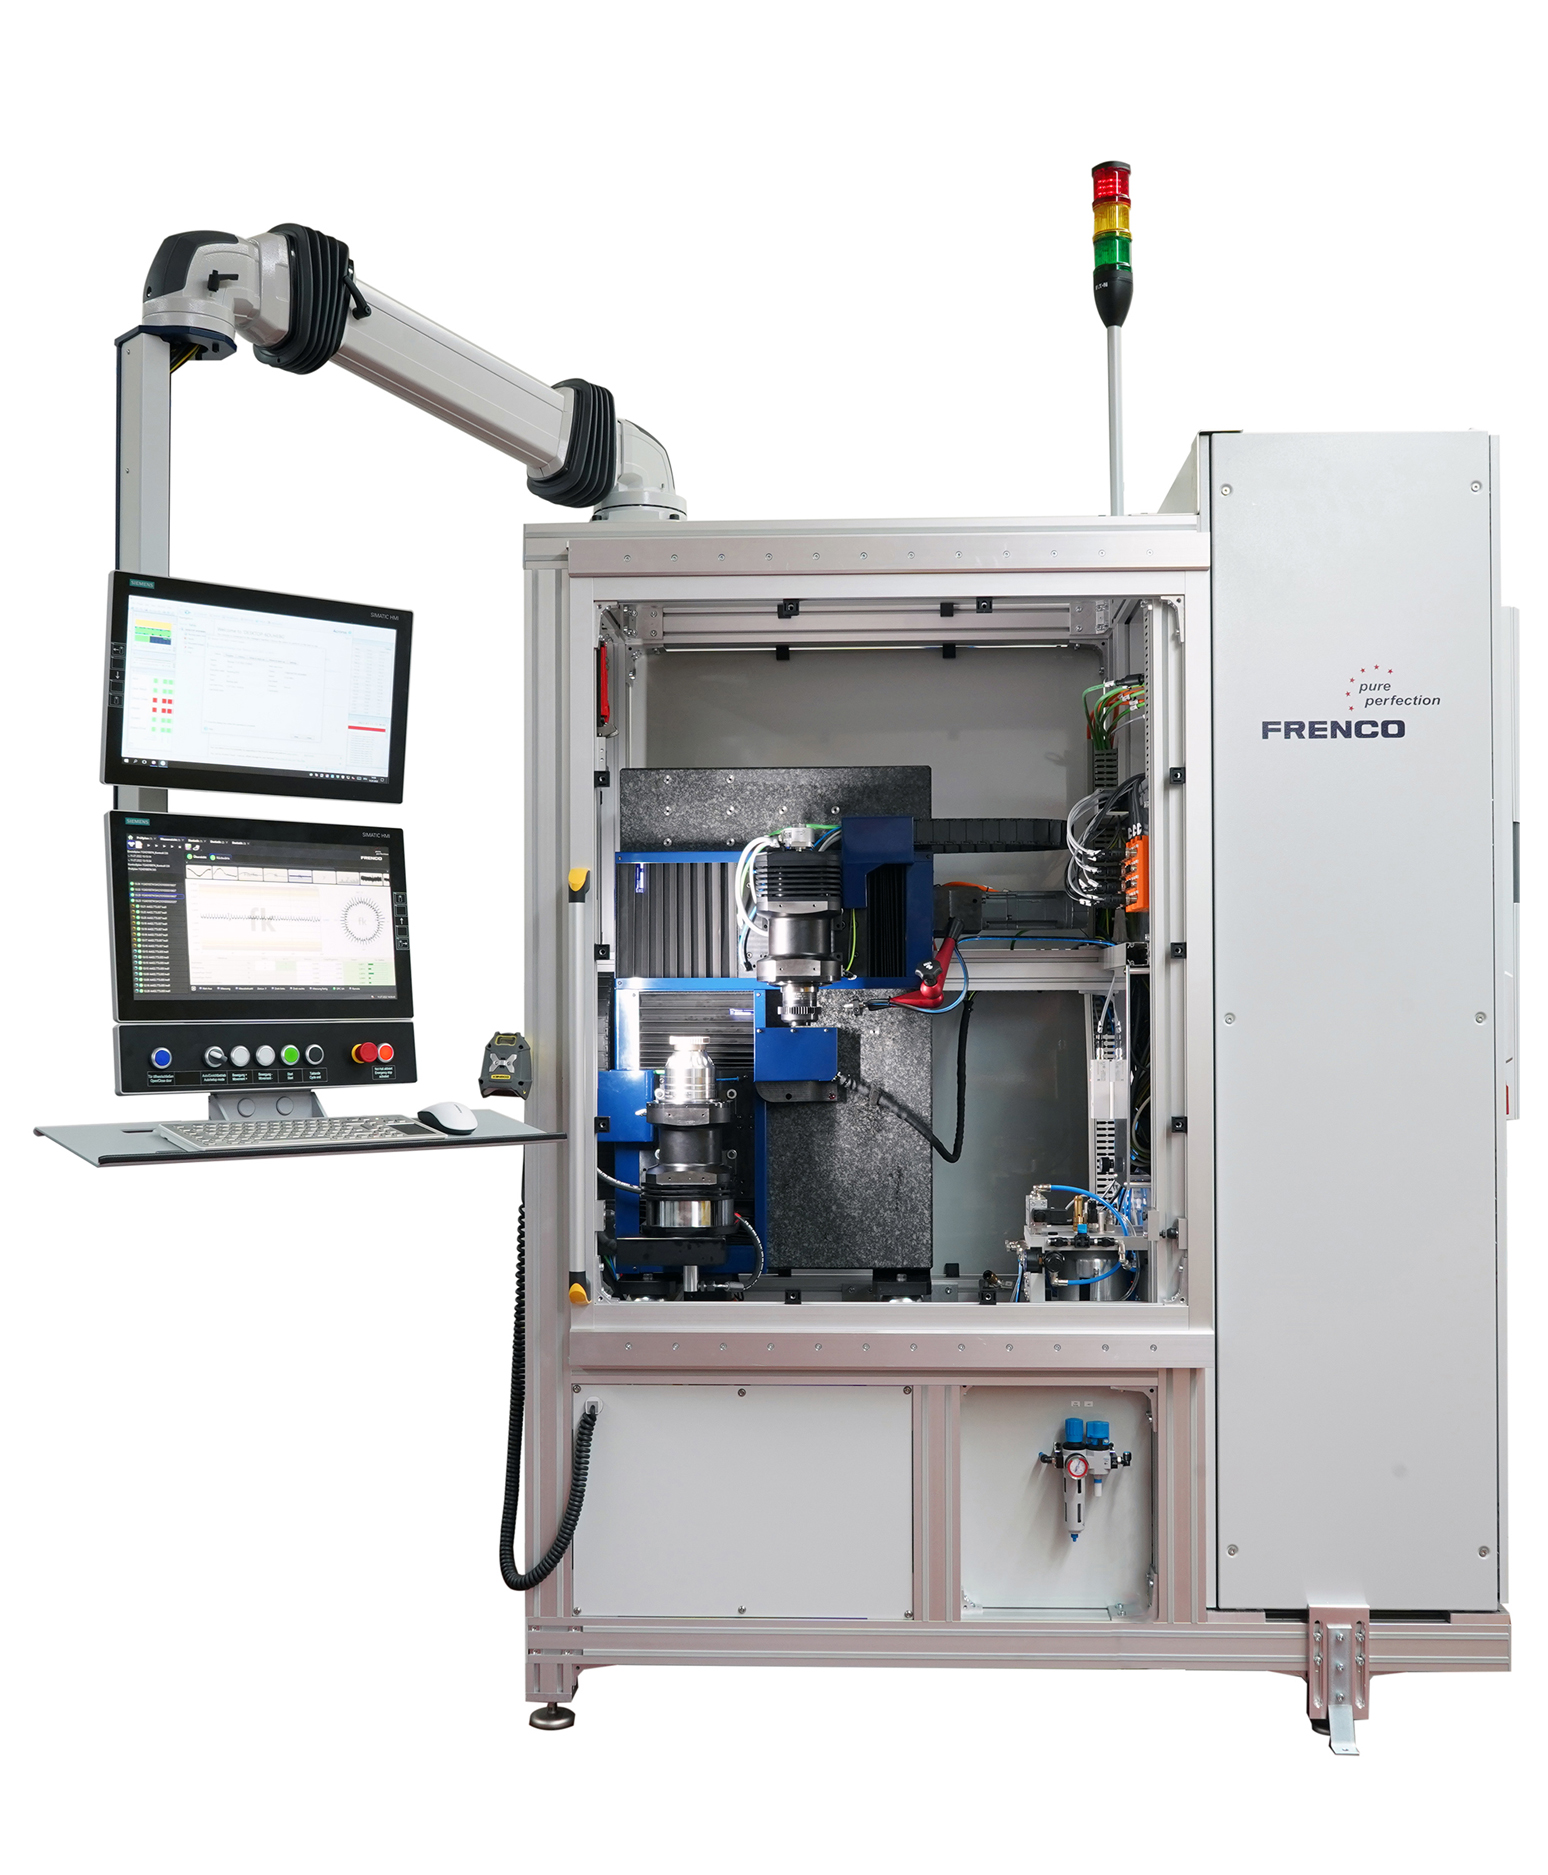
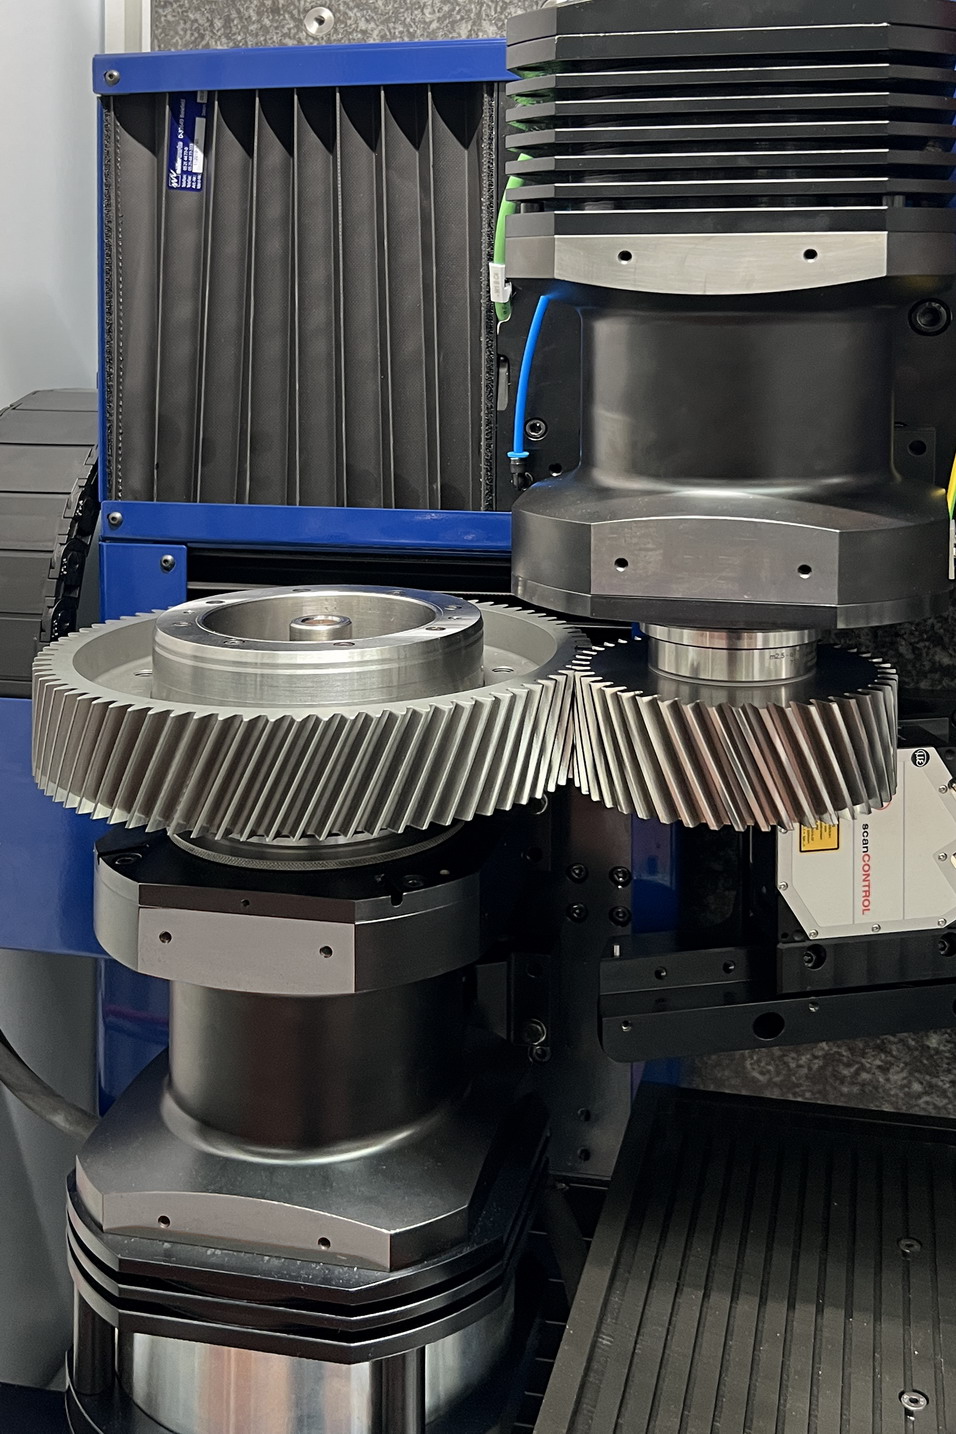
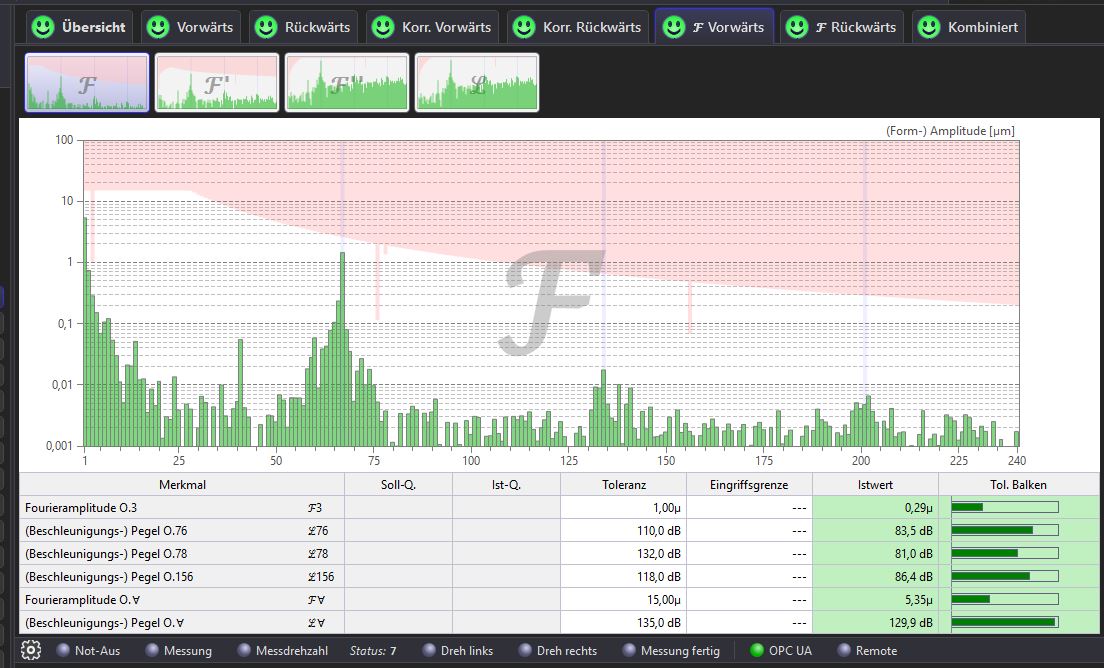
Device with combined Noise Measurement
Inspection with Master Gear
- Fast Composite Test (2 seconds for 10 revolutions)
- Cycle time for measurement in both directions and handling approximately 15 seconds
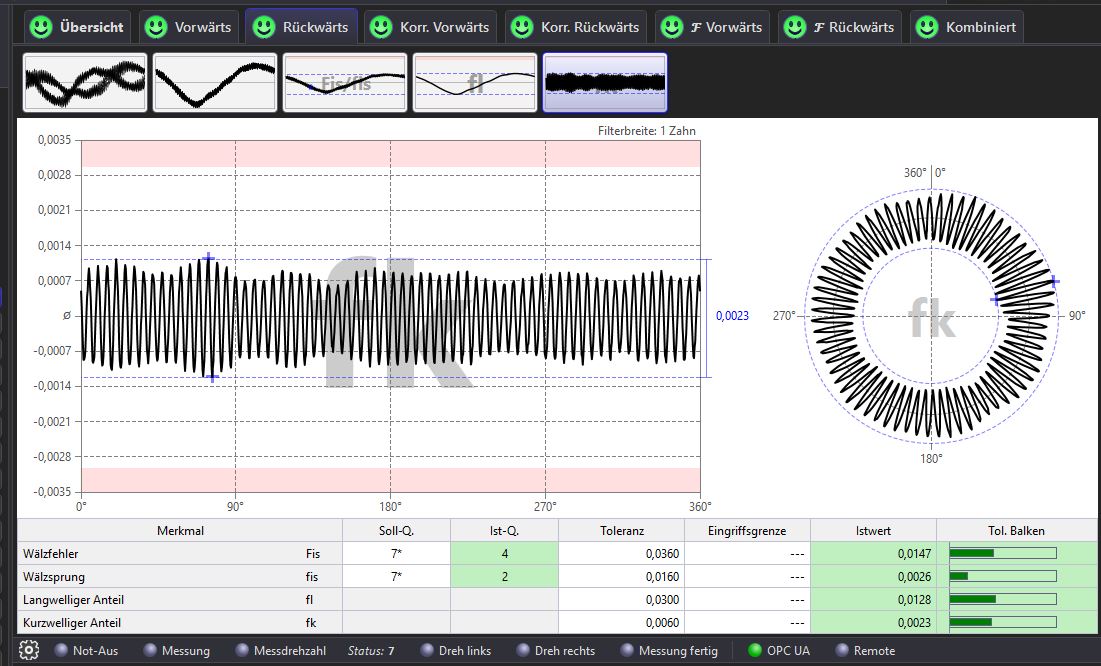
- Simultaneous recording of single flank errors, velocity and acceleration
- Evaluation of single flank test characteristics
- Evaluation of tooth thickness
- Detection of noise critical elements with DISCOM system
- Electric movement of linear axes for optimal speed and smooth travel
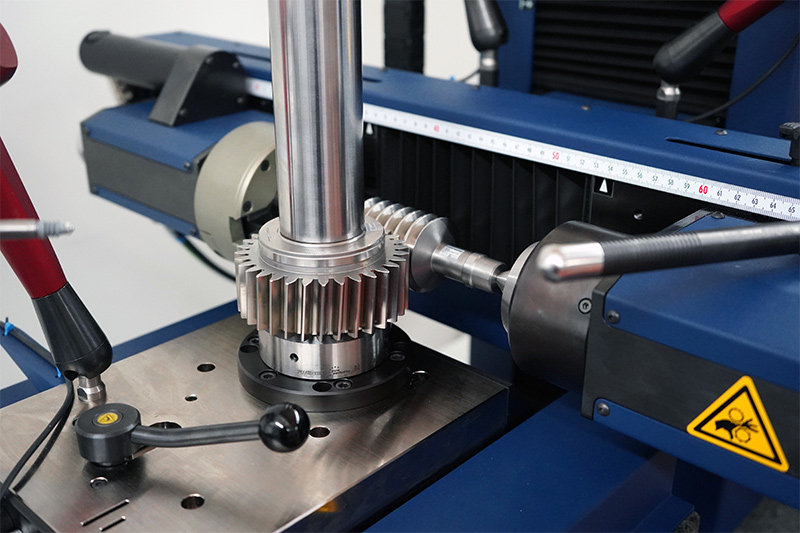
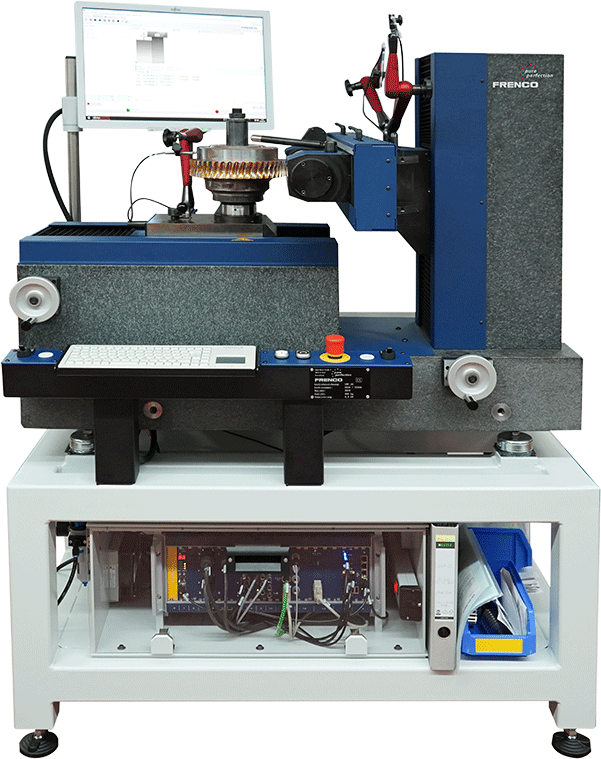
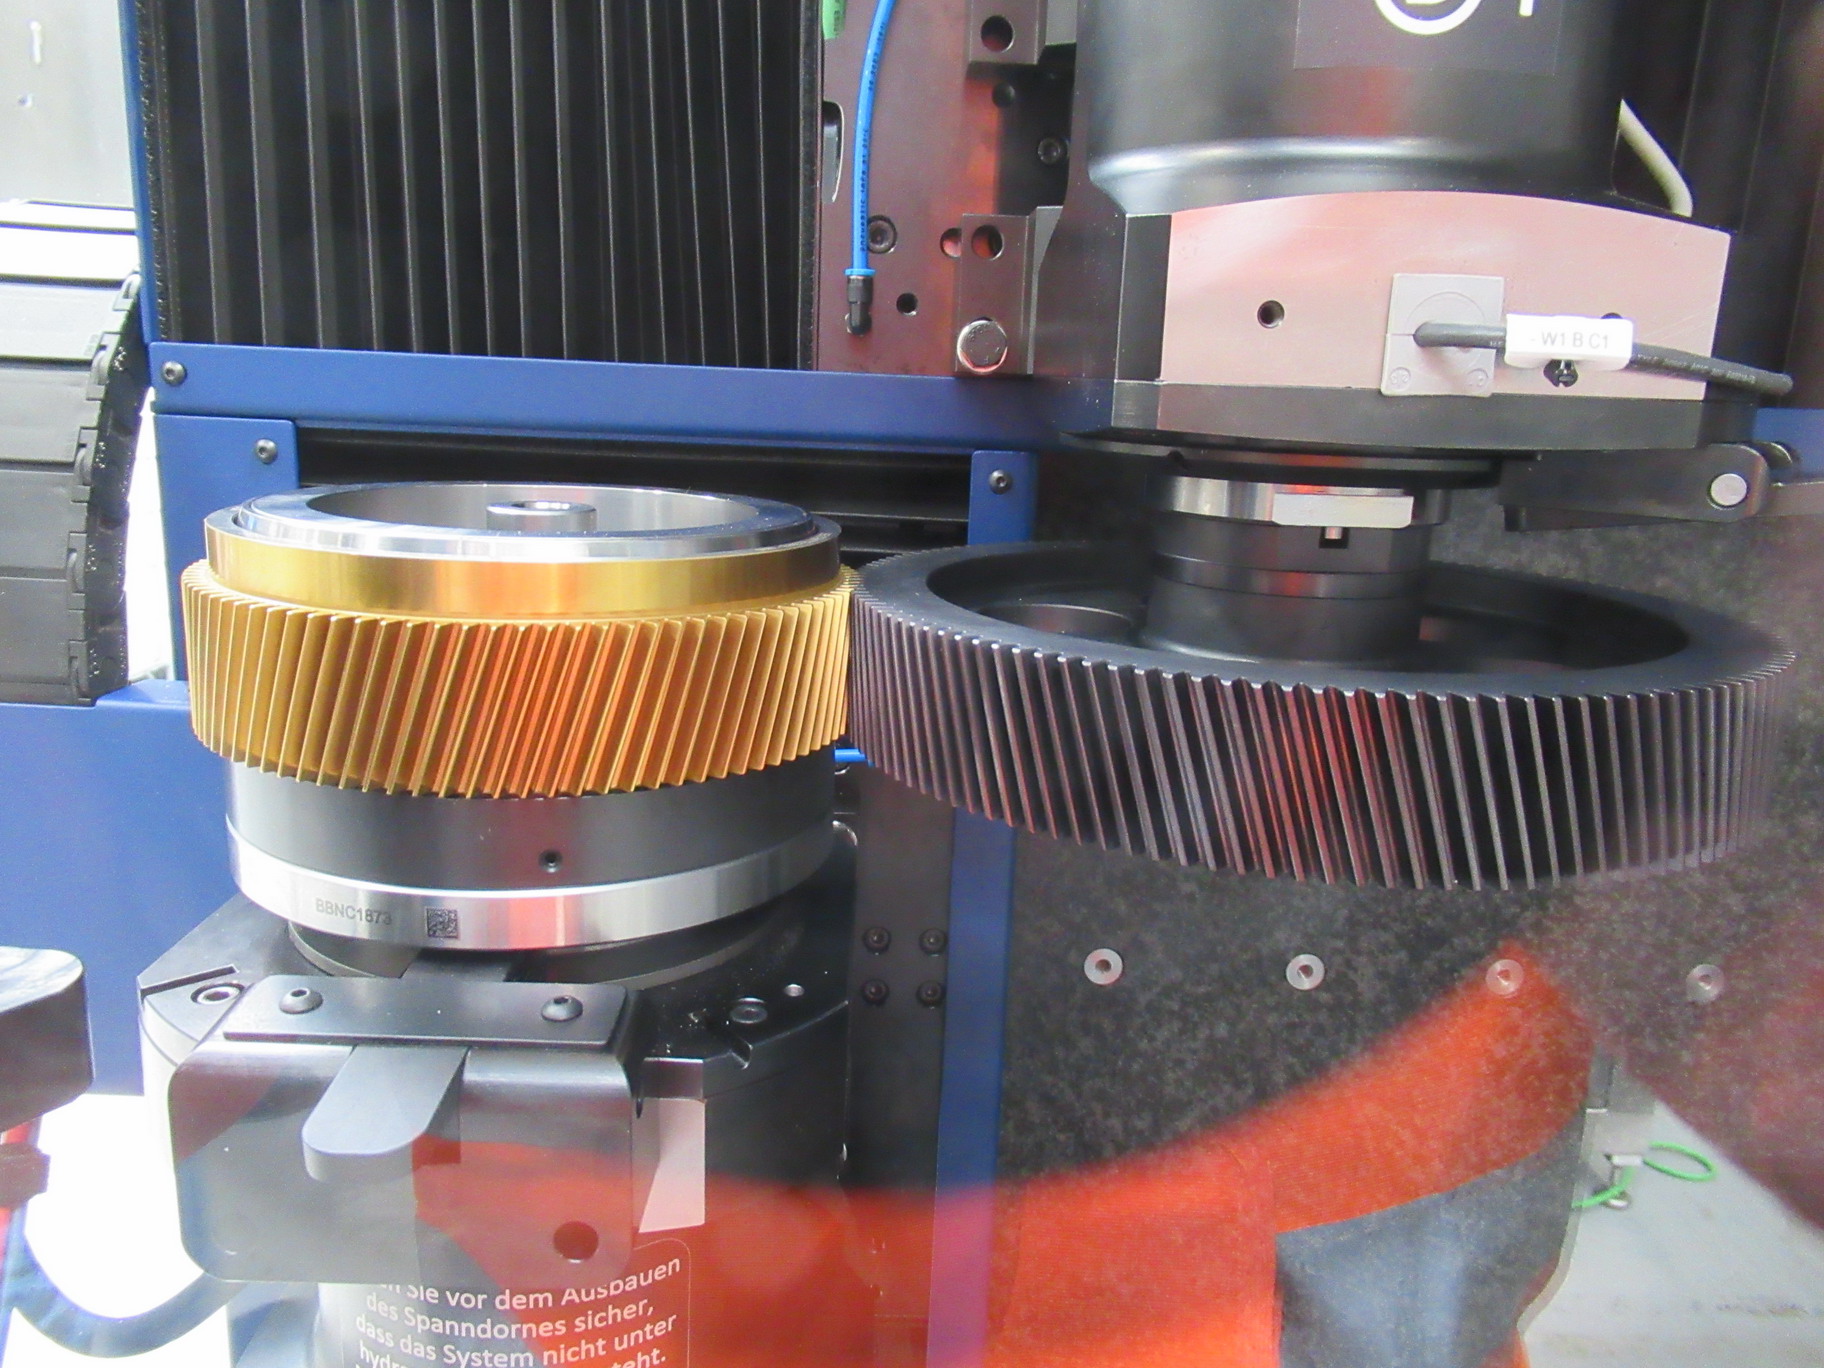
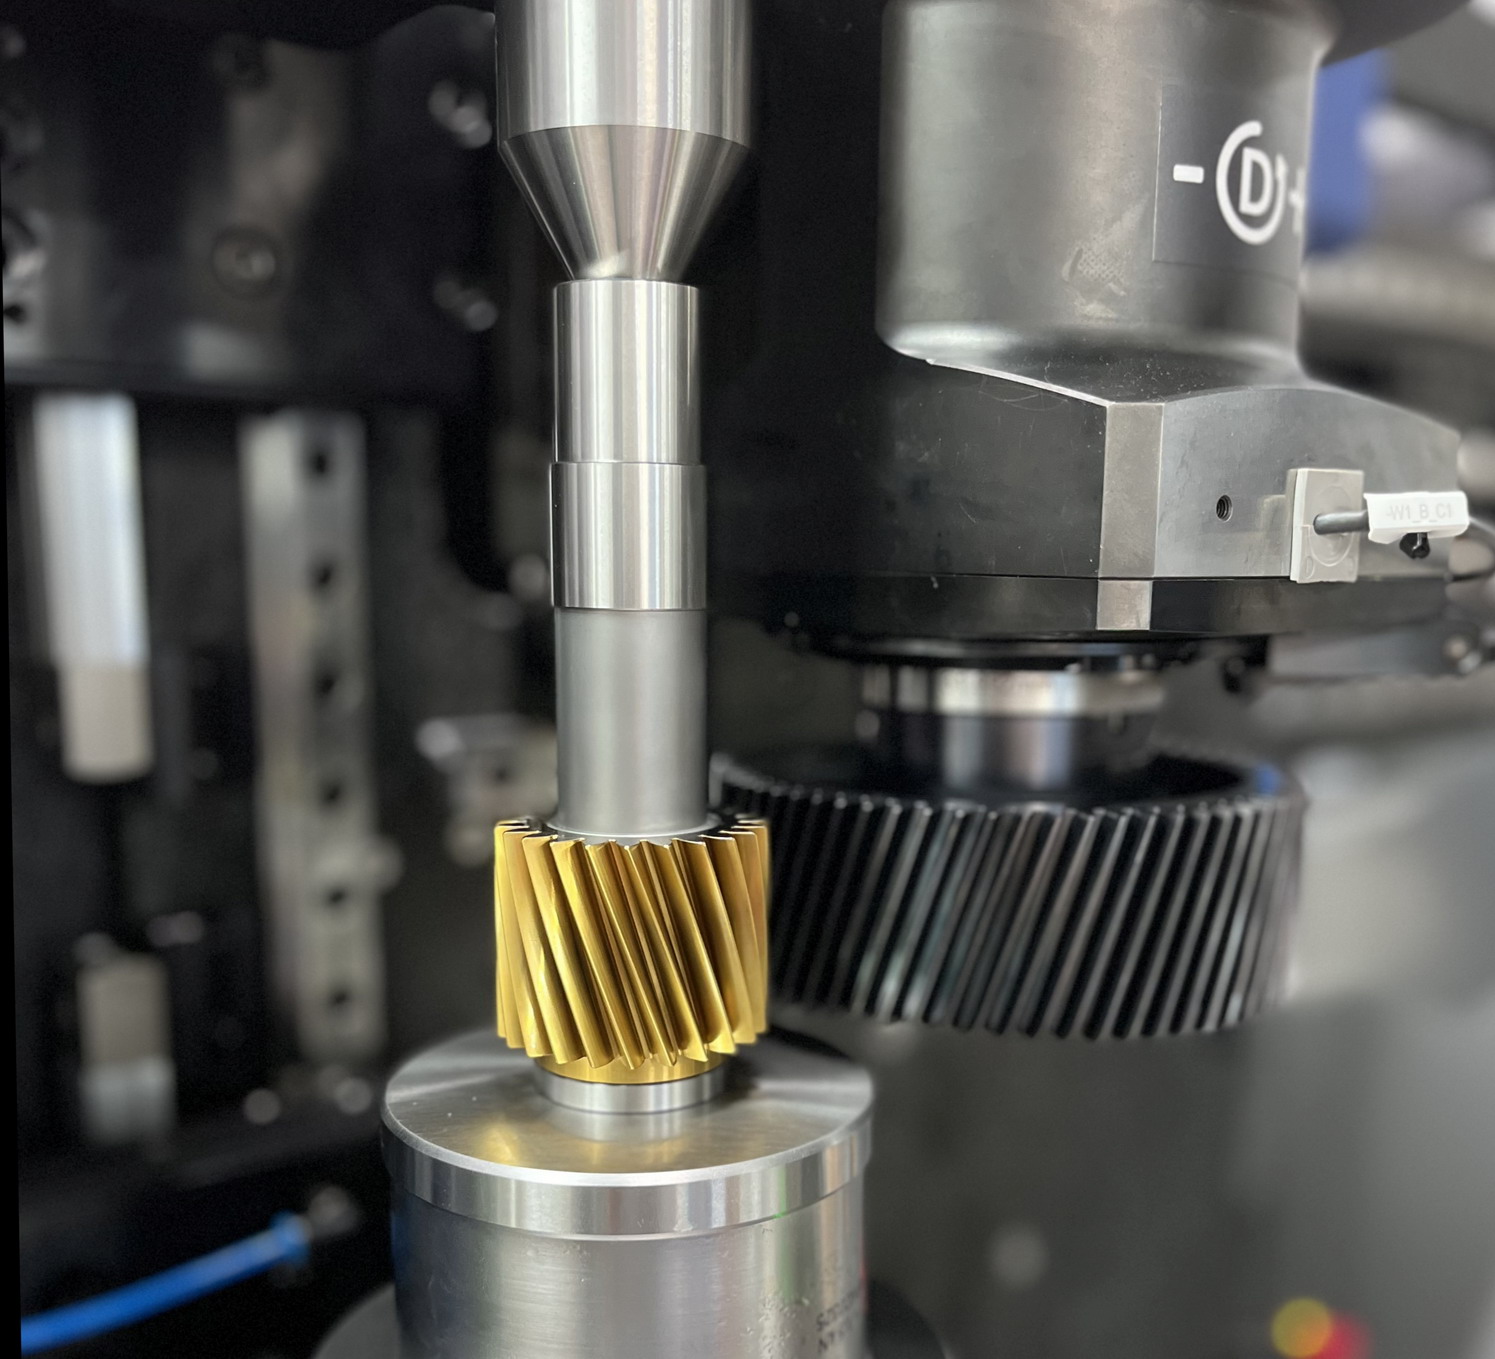
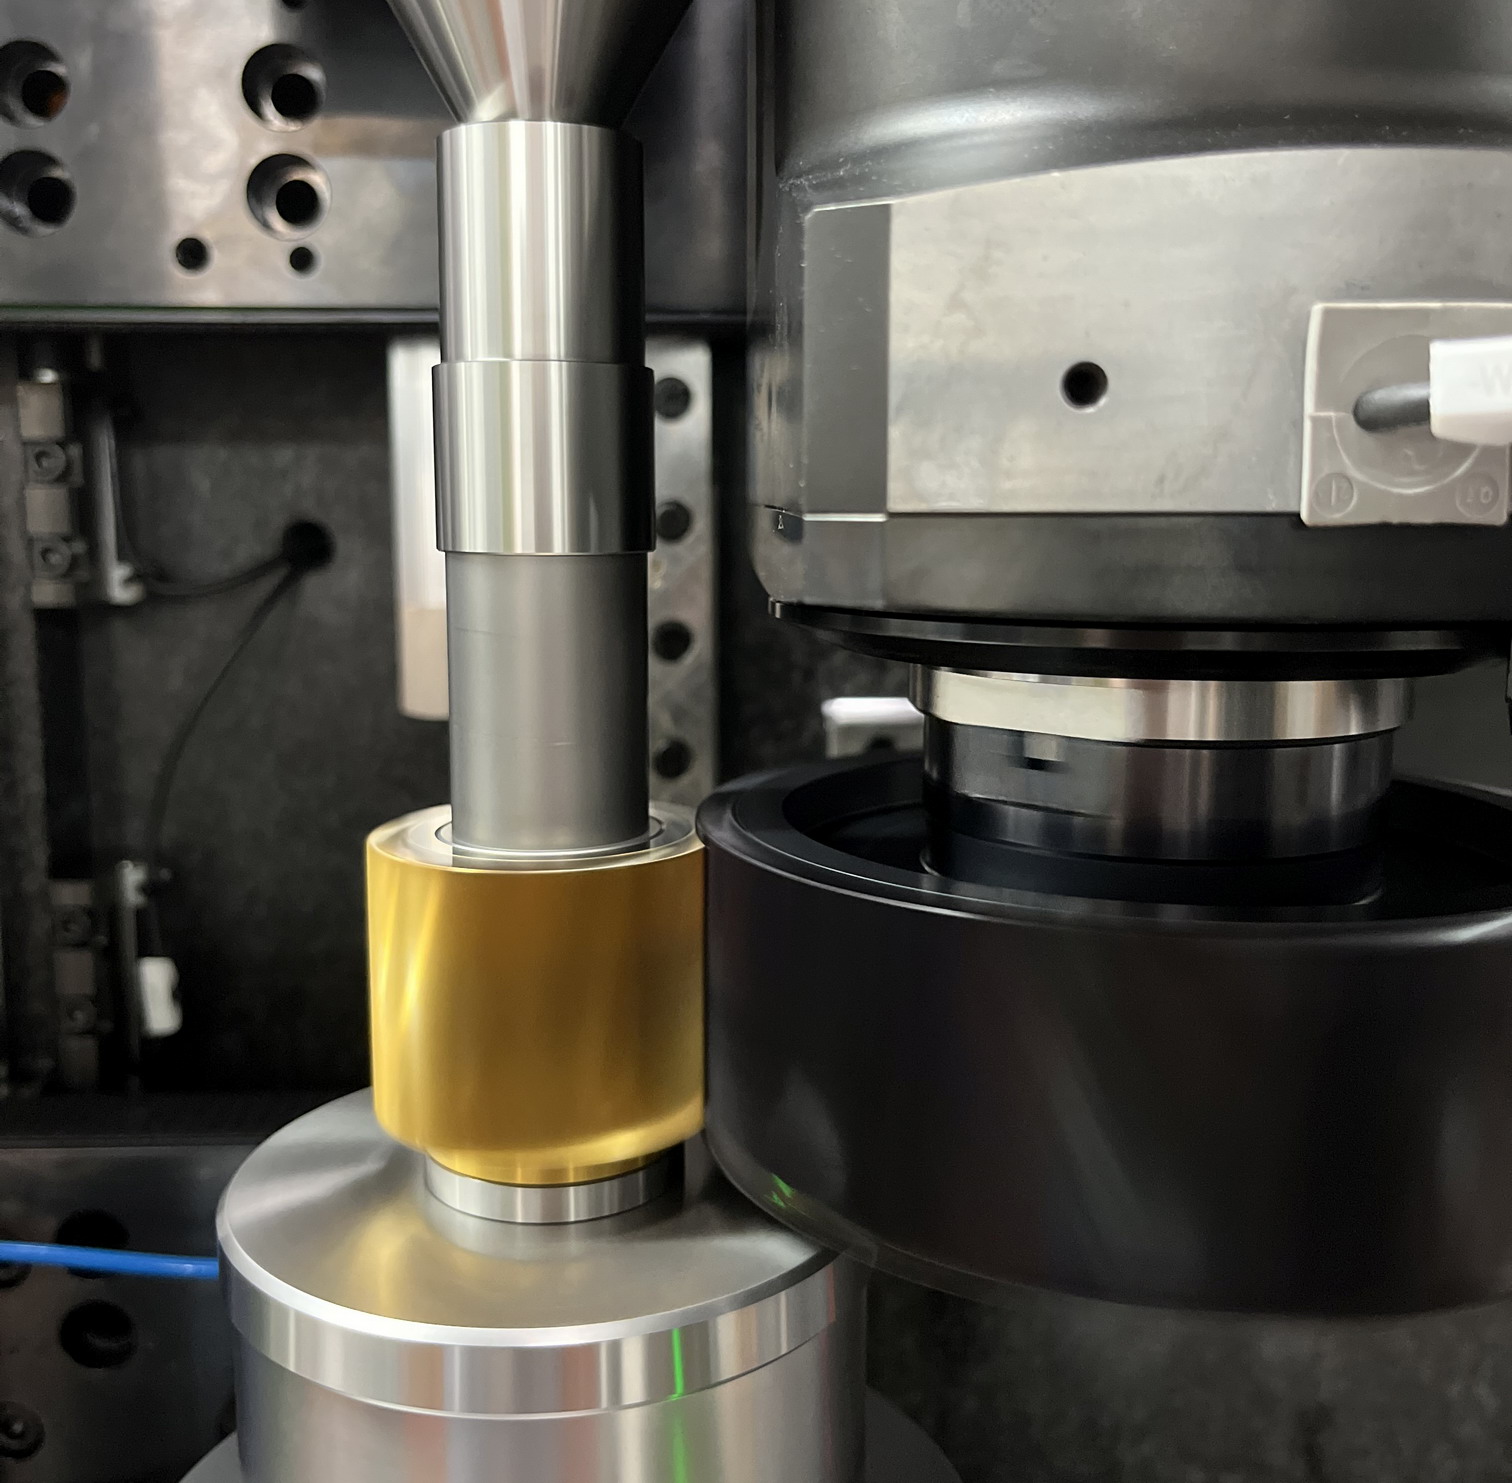
Device for Worms and Helical Gears
 Inspection with Helical Master Gear (available at
FRENCO) or Mating Product Gears
- Evaluation of pitch deviation, tooth to tooth error and concentricity
- Evaluation of Backlash and tooth thickness variation
- Smallest testable tolerance Tmin ≥ 10 µm (Type-2 study with master)
- Precise granite machine base
- Compact frame with integrated Measurement Electronics and PC
- Linear encoders for precise setting of axle distance and measuring plane
- Axle distance: 30 – 300 mm
- Maximum workpiece diameter: 400 mm
- Workpiece weight: Up to 80 kg
- Opening stroke: 30 mm
 Deutsch
 English